The Lift Locker
A side-mounted, solenoid-actuated storage unit for a wheelchair user with juvenile rheumatoid arthritis — designed so it opens with a push, not a grip.
Summary
We were tasked with helping a client make his life more accessible.
Our client had juvenile rheumatoid arthritis, which greatly affects the movement of joints, leading to low dexterity.
We noticed his difficulty storing and accessing the items on the side of his wheelchair, so we wanted to create a new and improved storage device that is more accessible and practical.
This project was eye-opening to me, and it showed me how inaccessible the world is to people with disabilities.
Problem Statement
We want to design a side-mounted wheelchair storage unit for users with physical disabilities and low dexterity, allowing them to access their belongings more easily. The design must be lightweight, durable, practical, aesthetically pleasing, and accessible for storing our client’s everyday items.
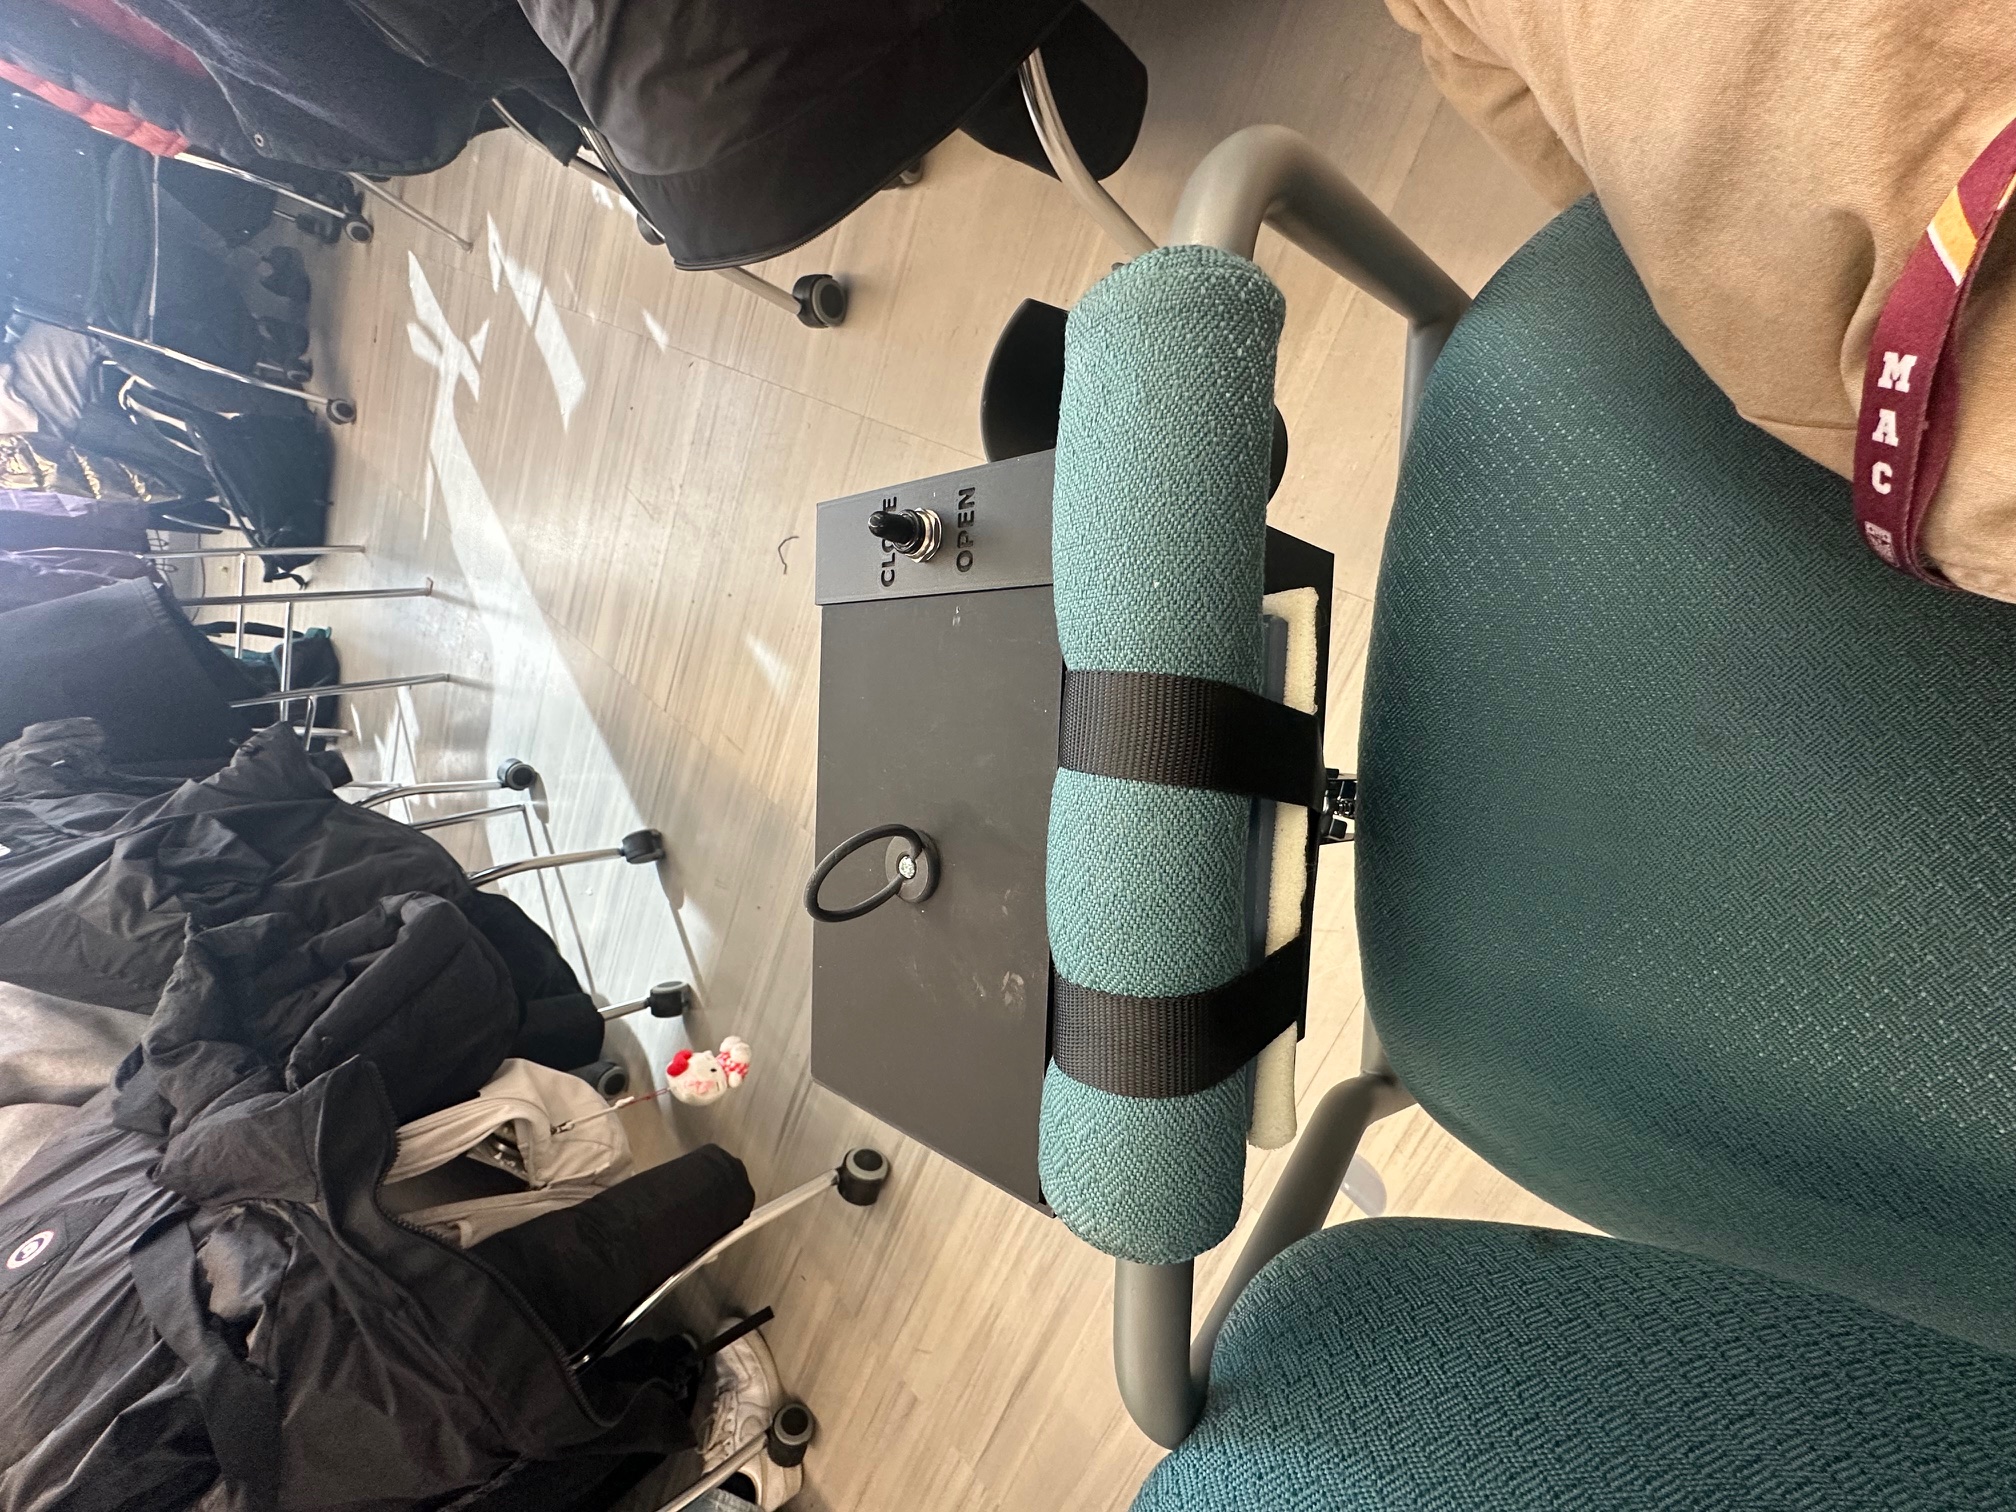
Our constraints are that the design must fit on a wheelchair armrest, not interfere with normal wheelchair operation, and remain compact enough for everyday use. It must also be secure when mounted and not require excessive force or dexterity to operate.
Timeline of Project (Jan. 20 – Mar. 31, 2026)
Design Process
Testing Plan
While creating this design, we needed a way to test whether we were meeting our objectives and constraints. We came up with the testing plan on the side, where we decided on the objectives/constraints we wanted, the method we would use to test them, and the metrics we would use to compare prototypes.
Along the way, we revised this plan and added objectives we hadn’t originally considered, such as waterproofing the system.
Who did what — and what I owned
Three views of the same project: how the team worked, the concept and CAD work I led, and the two engineering problems I solved.
For our initial concepts, each team member came up with their own idea of what the storage device should look like. We then discussed as a group, came up with a design that incorporated the best parts of each of our concepts, and began moving forward.
At each stage of the design, we would meet and reflect on what worked and what needed improvement. After many iterations and collaborations, we arrived at our final solution. Throughout the project, we also stayed up to date on milestones to ensure we were meeting our objectives.
Everyone sketched independently, then we merged the strongest parts of each concept into one design.
After each prototype the team met, reviewed what worked, and agreed on the single fix that mattered most next.
We stayed up to date on deliverables so no objective was quietly dropped along the way.
When coming up with the original ideas, my idea was one of the main concepts we built on. My design offered a simple, battery-powered solenoid-based solution. We built on my initial prototype that demonstrated this idea, incorporating other people’s ideas, one of the main ones being moving the solenoids to the bottom of the shelf.
As we continued to develop the design, I served as the lead designer, leveraging my extensive 3D modelling skills to make modifications quickly. In total, I made three different models of our design, including highly mechanical, laser-cut and 3D-printed versions. We chose the 3D printing option due to the simplicity and the restrictions on laser-cutting materials.
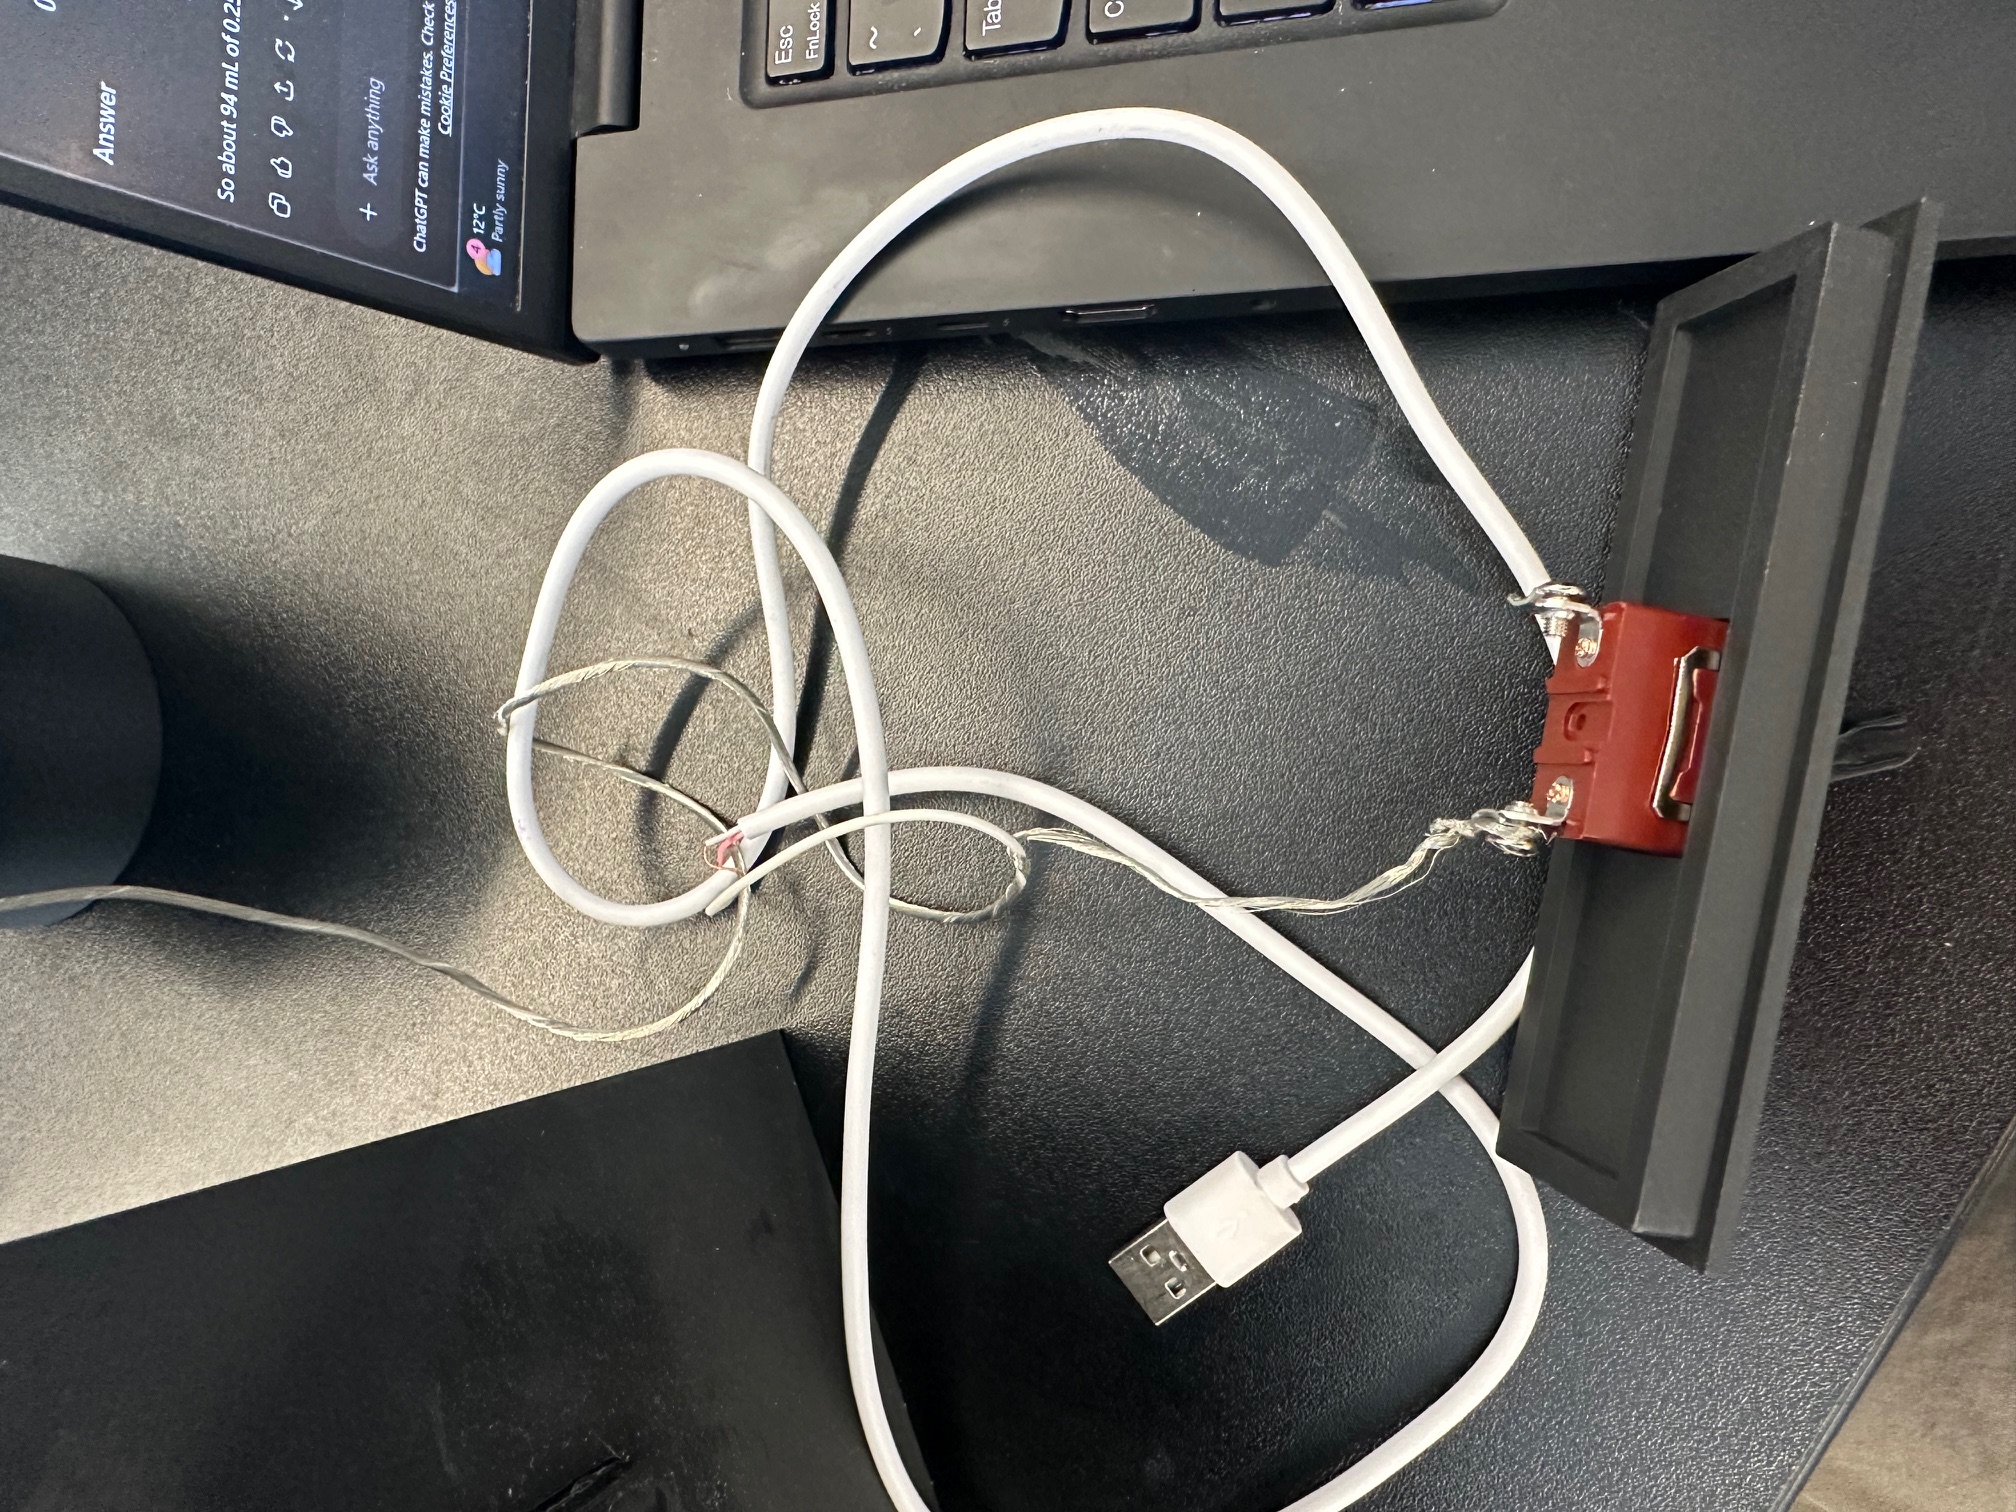
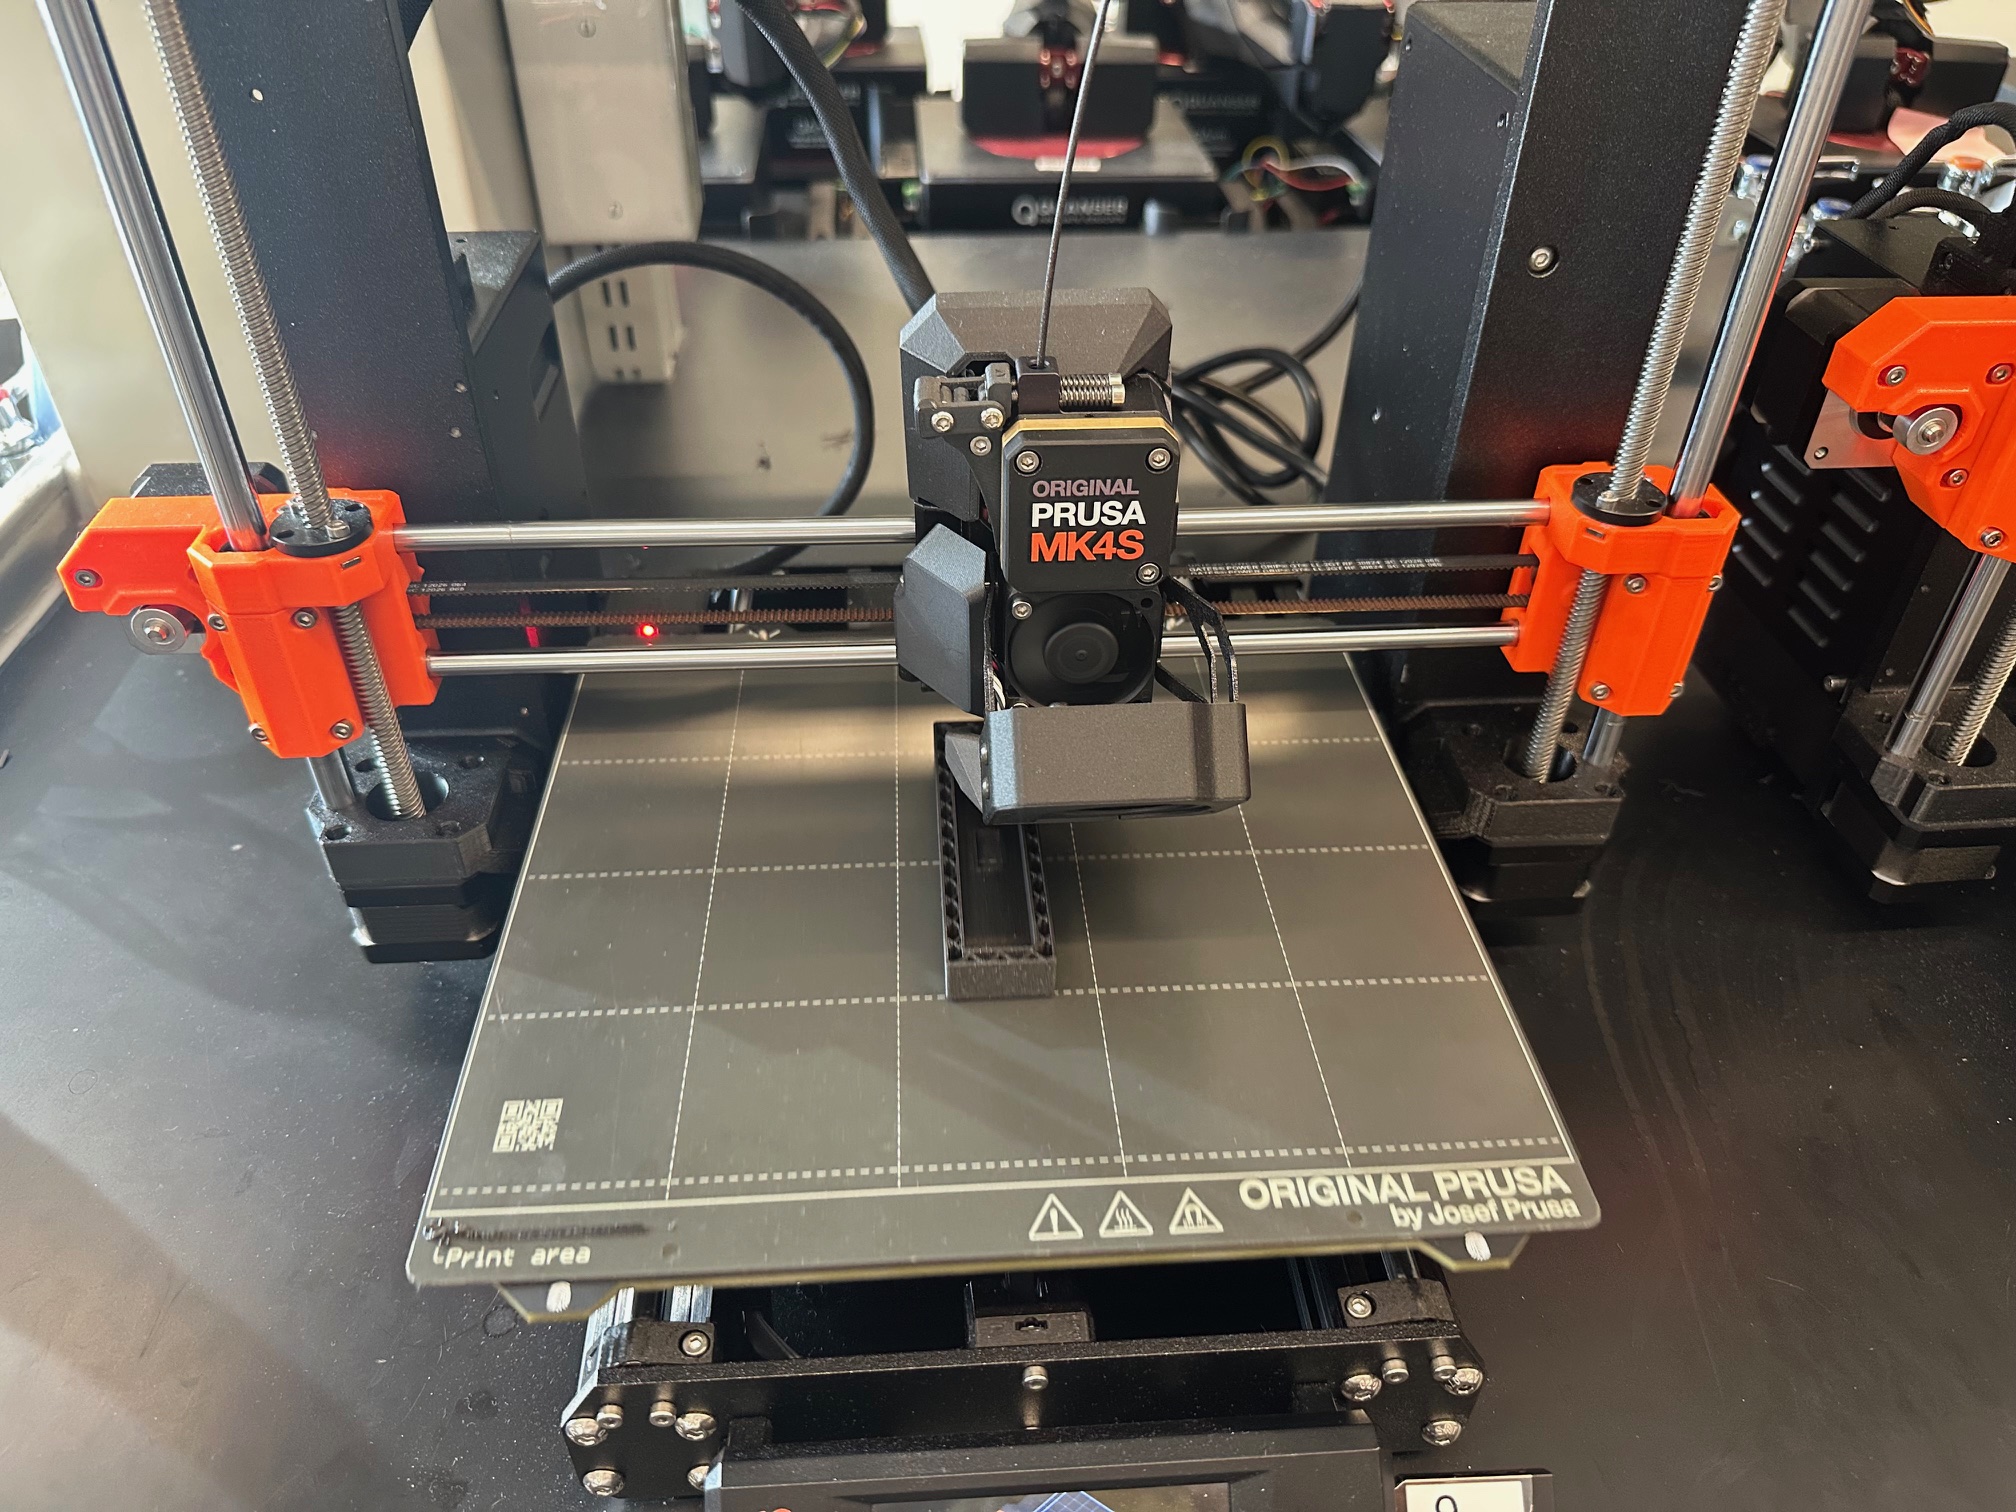
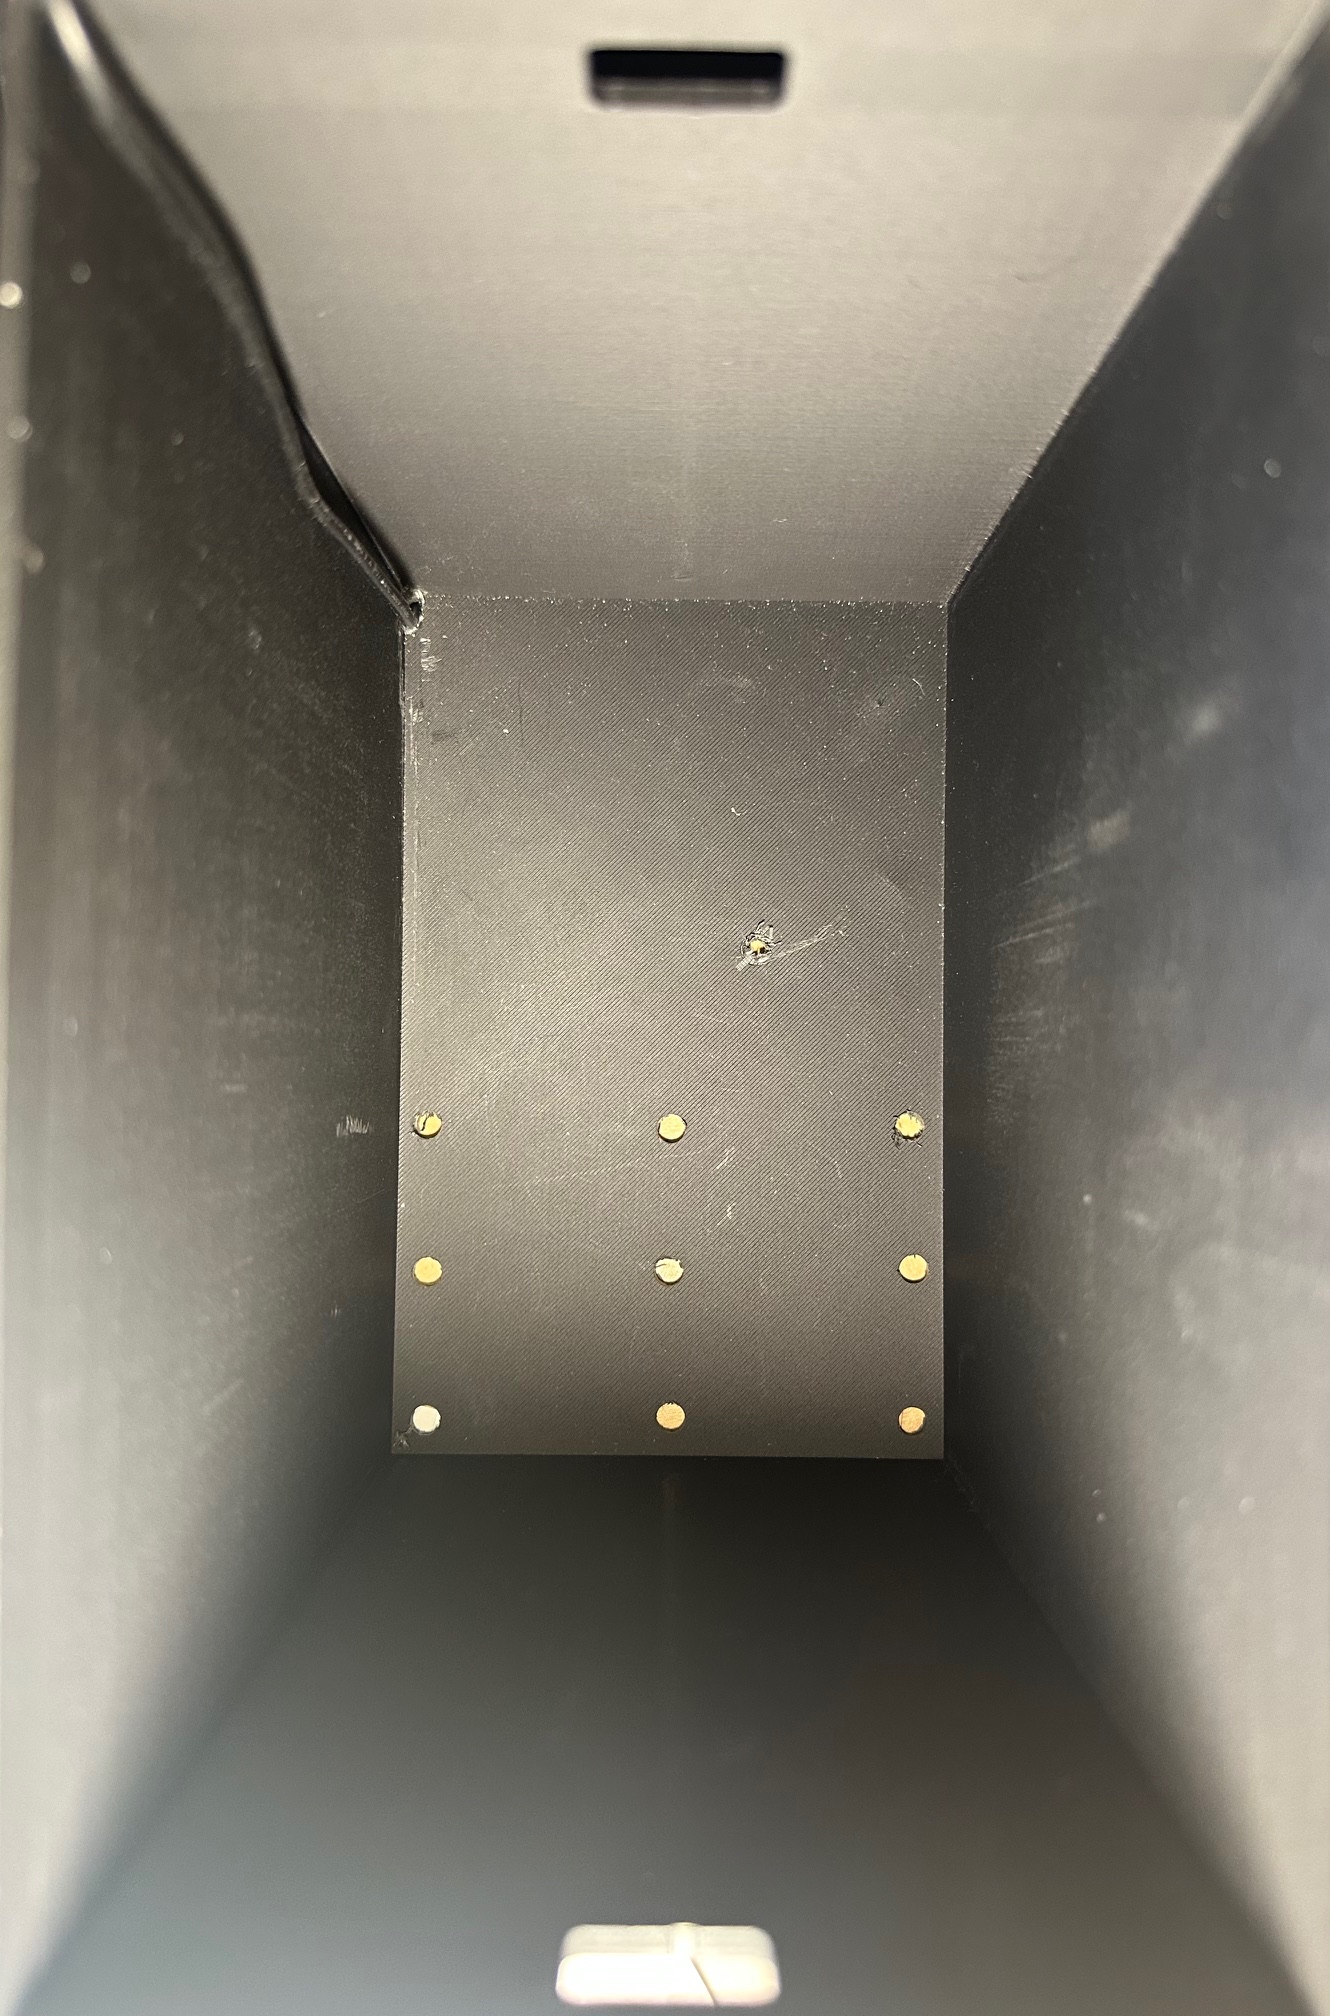
When we first started testing our design, we realized that the shelving unit was closing very slowly due to air buildup in the shell; this just wasn’t going to work. I had the idea to add a hole at the bottom of the shell to release air faster, but instead of making one big one, I wanted to experiment and use the air pressure to our advantage to find the perfect equilibrium between a fast and soft close.
By drilling holes in the bottom of the shell, we were able to fine-tune the air pressure in the system, resulting in a perfect, satisfying closing mechanism.
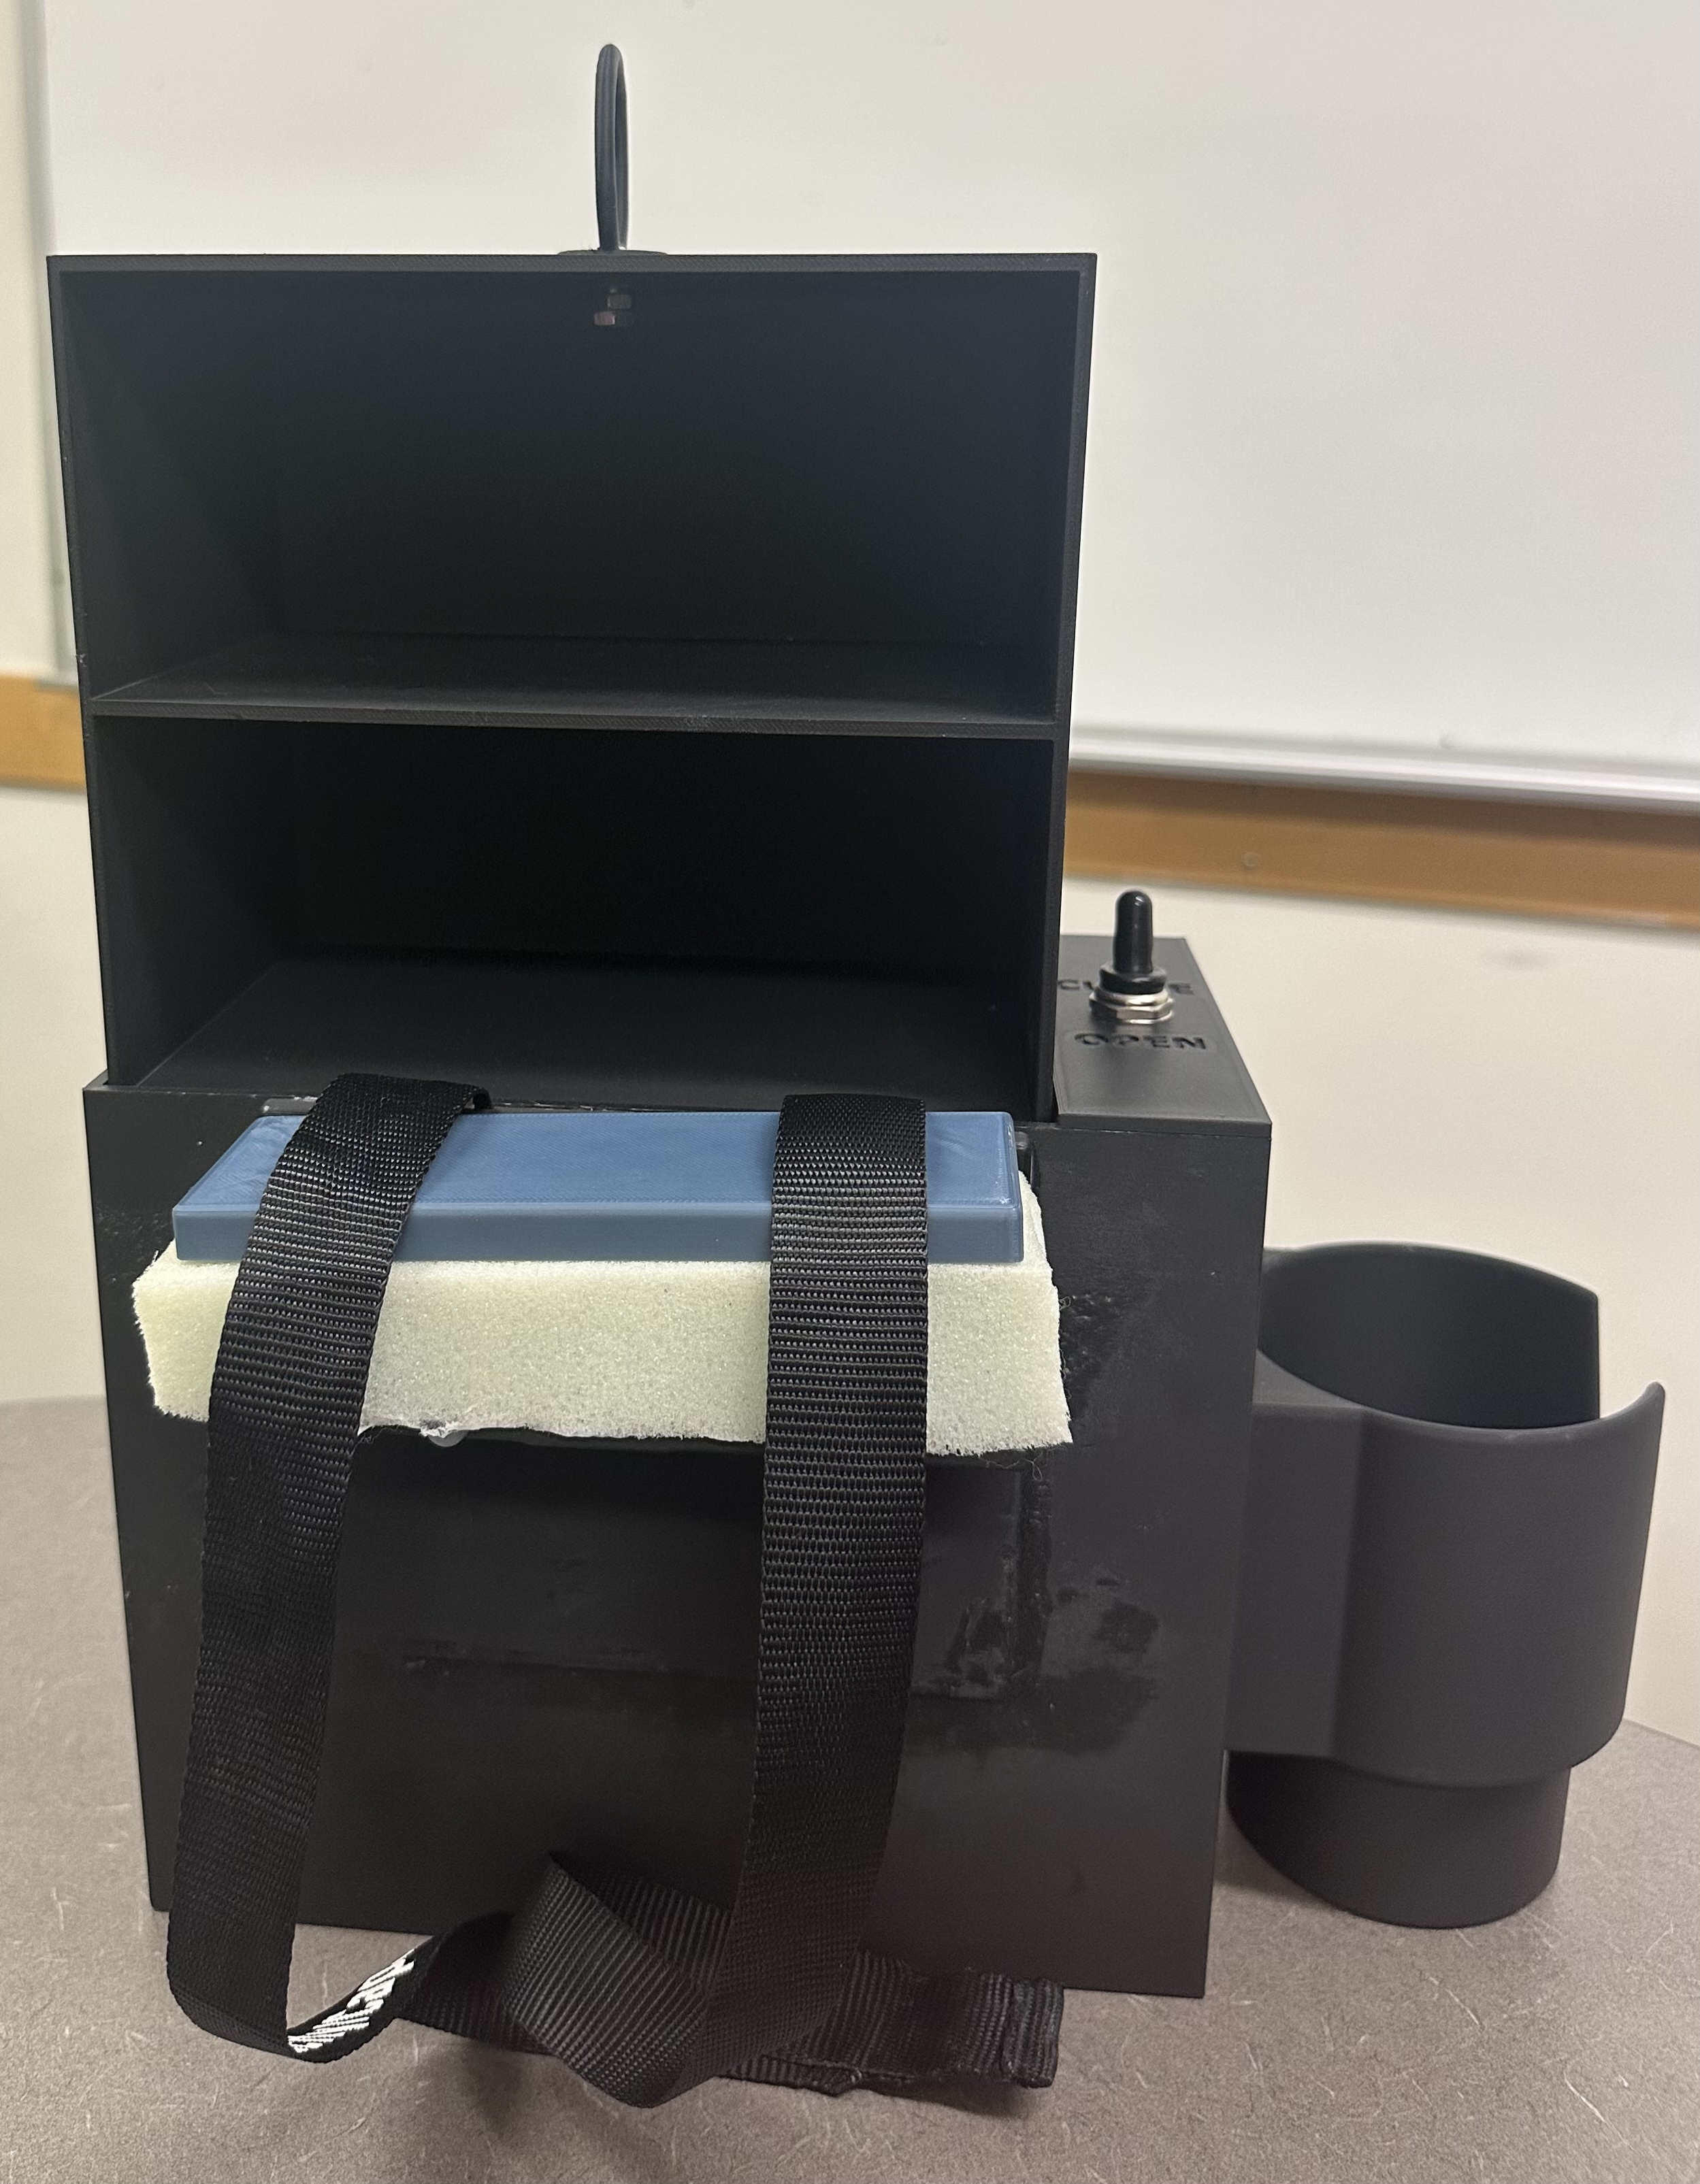
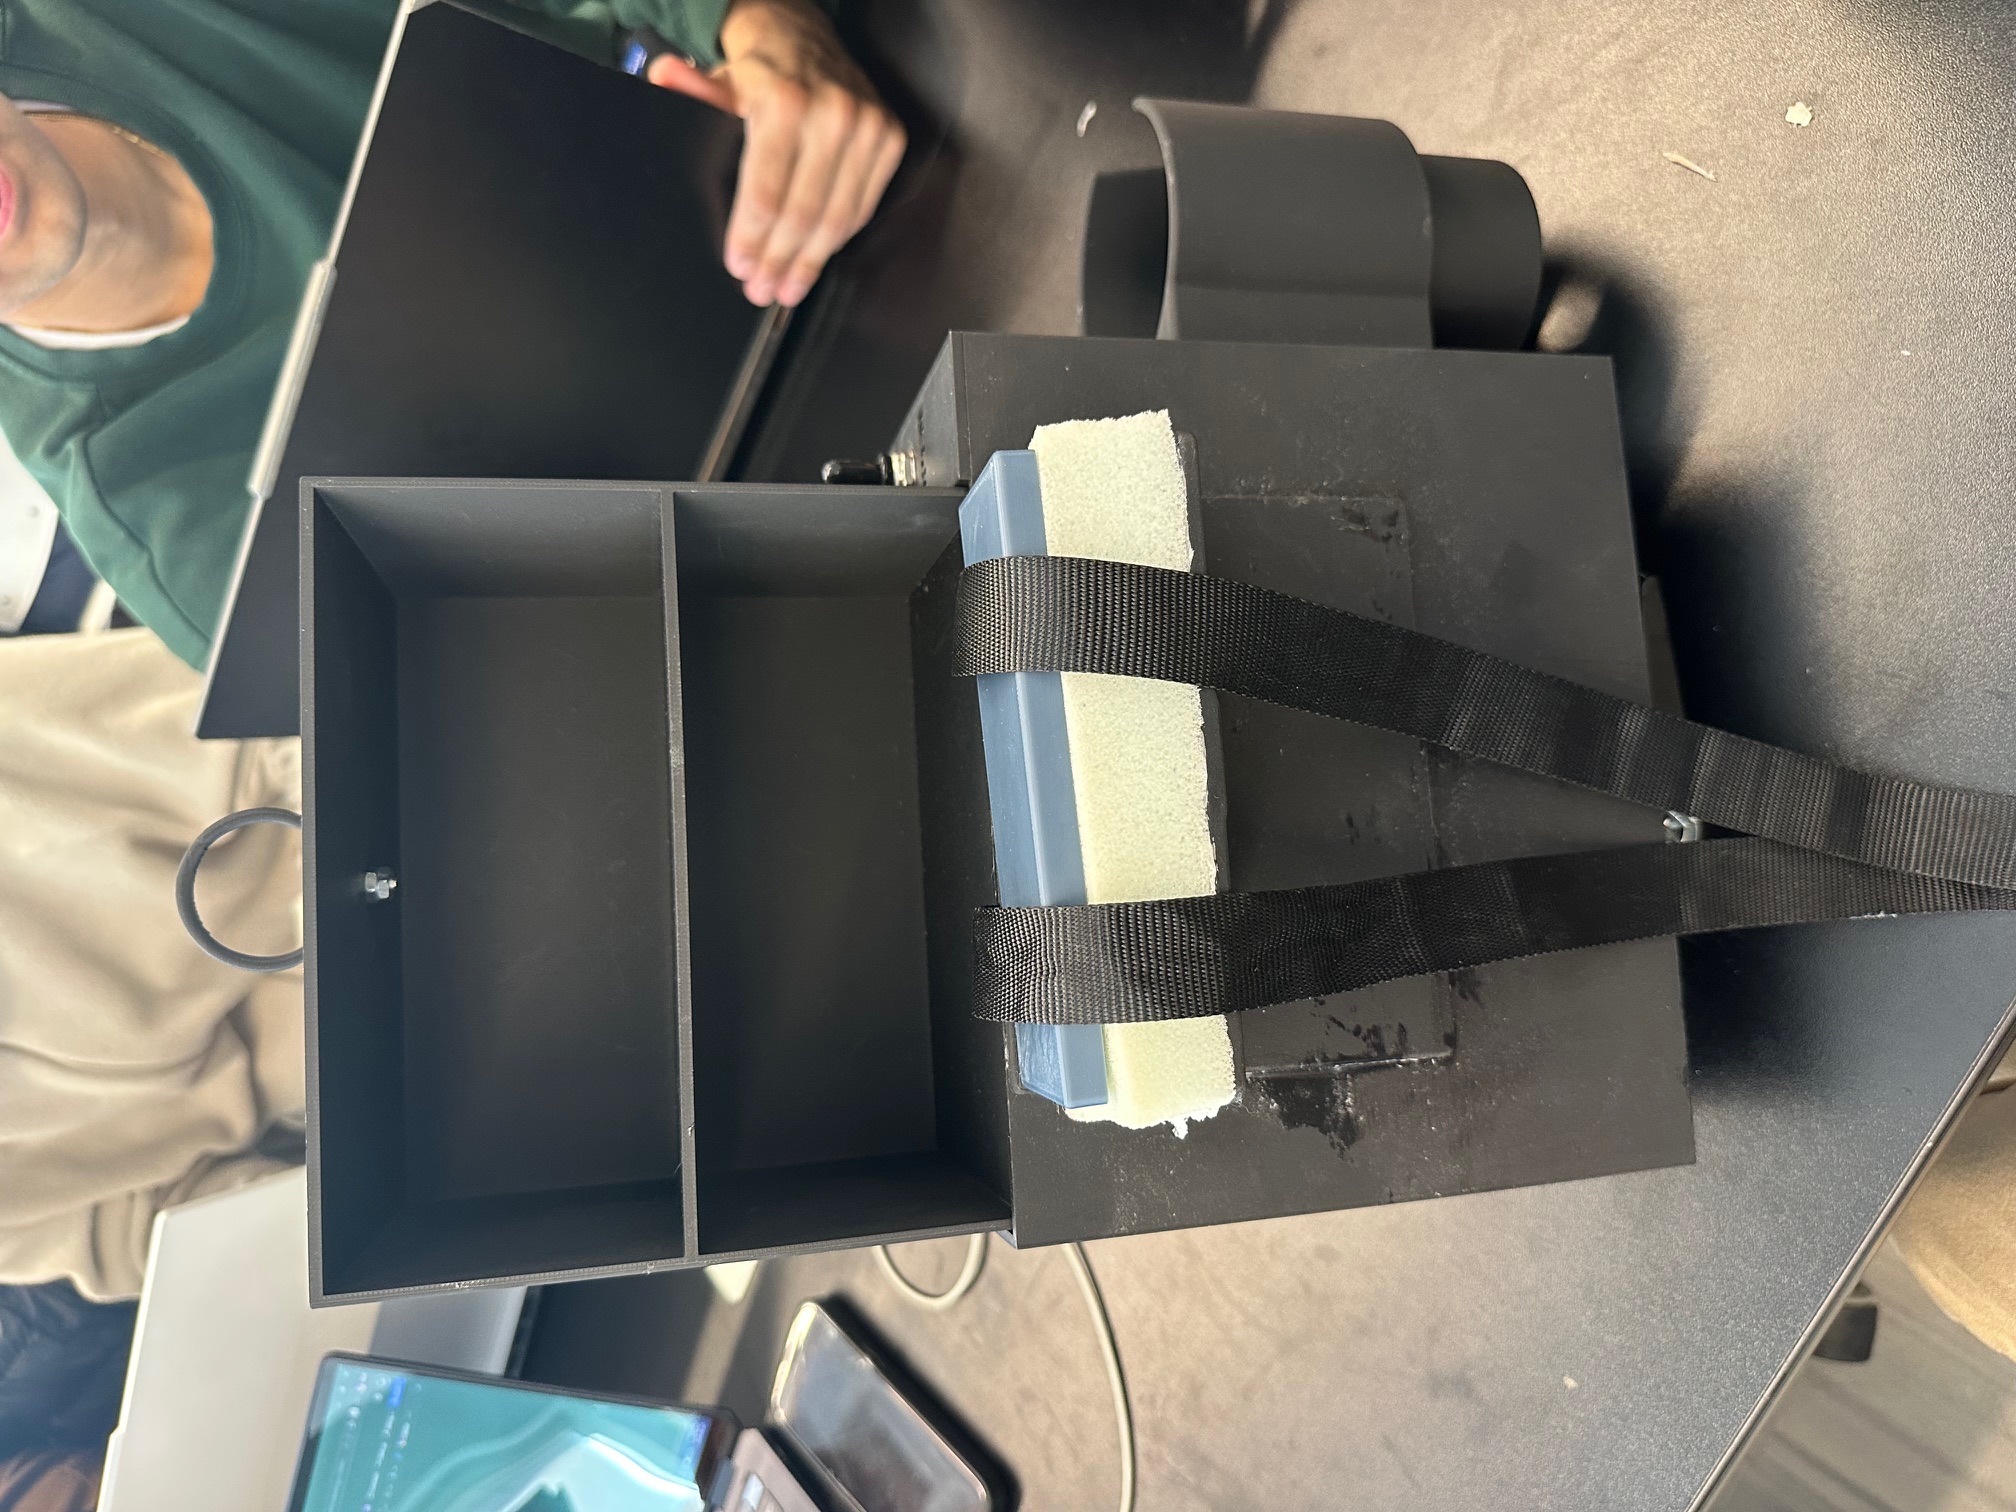
While working on the device mount, we realized how difficult it is to make a one-size-fits-all mount. We needed a simple way for it to be adjustable or form-fitting.
Taking what I learned from my first 1P13 project, I used the same type of foam padding and placed it beneath a 3D-printed mount block, which provided some cushion and slightly shaped the mount to the armrest width. It was highly successful and is one of the main reasons we are able to mount it to a large variety of armrests.
Final Work
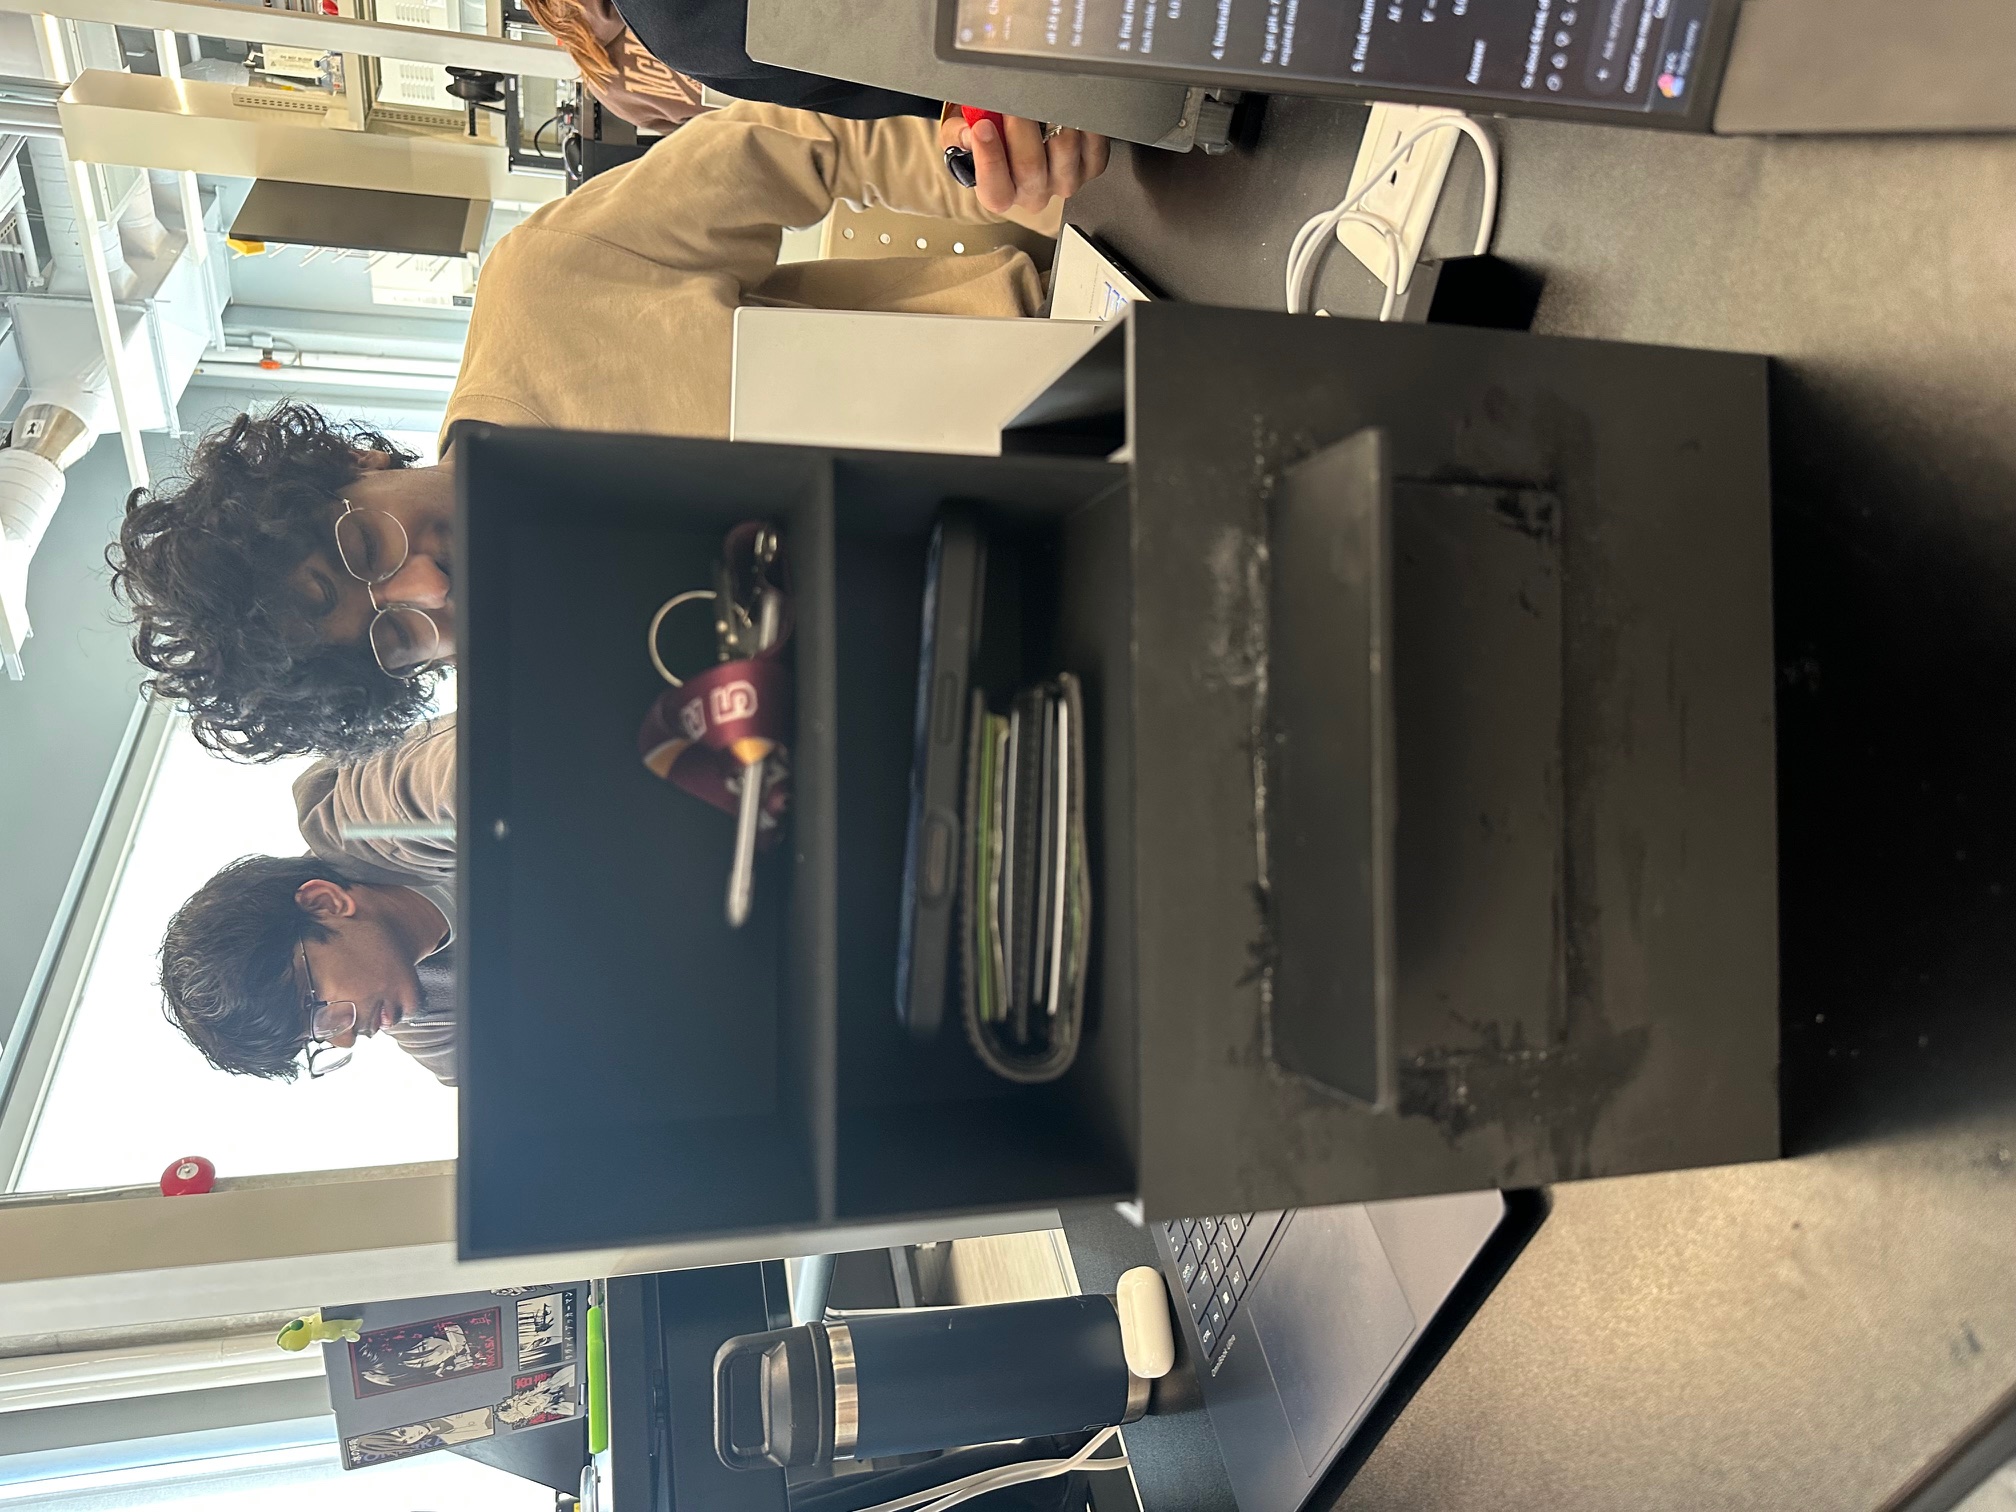
This video shows the functionality of the Lift Locker. It is designed for simplicity and accessibility. This demonstrates the opening and soft closing of the solenoid-based solution, as well as its ability to store everyday items.
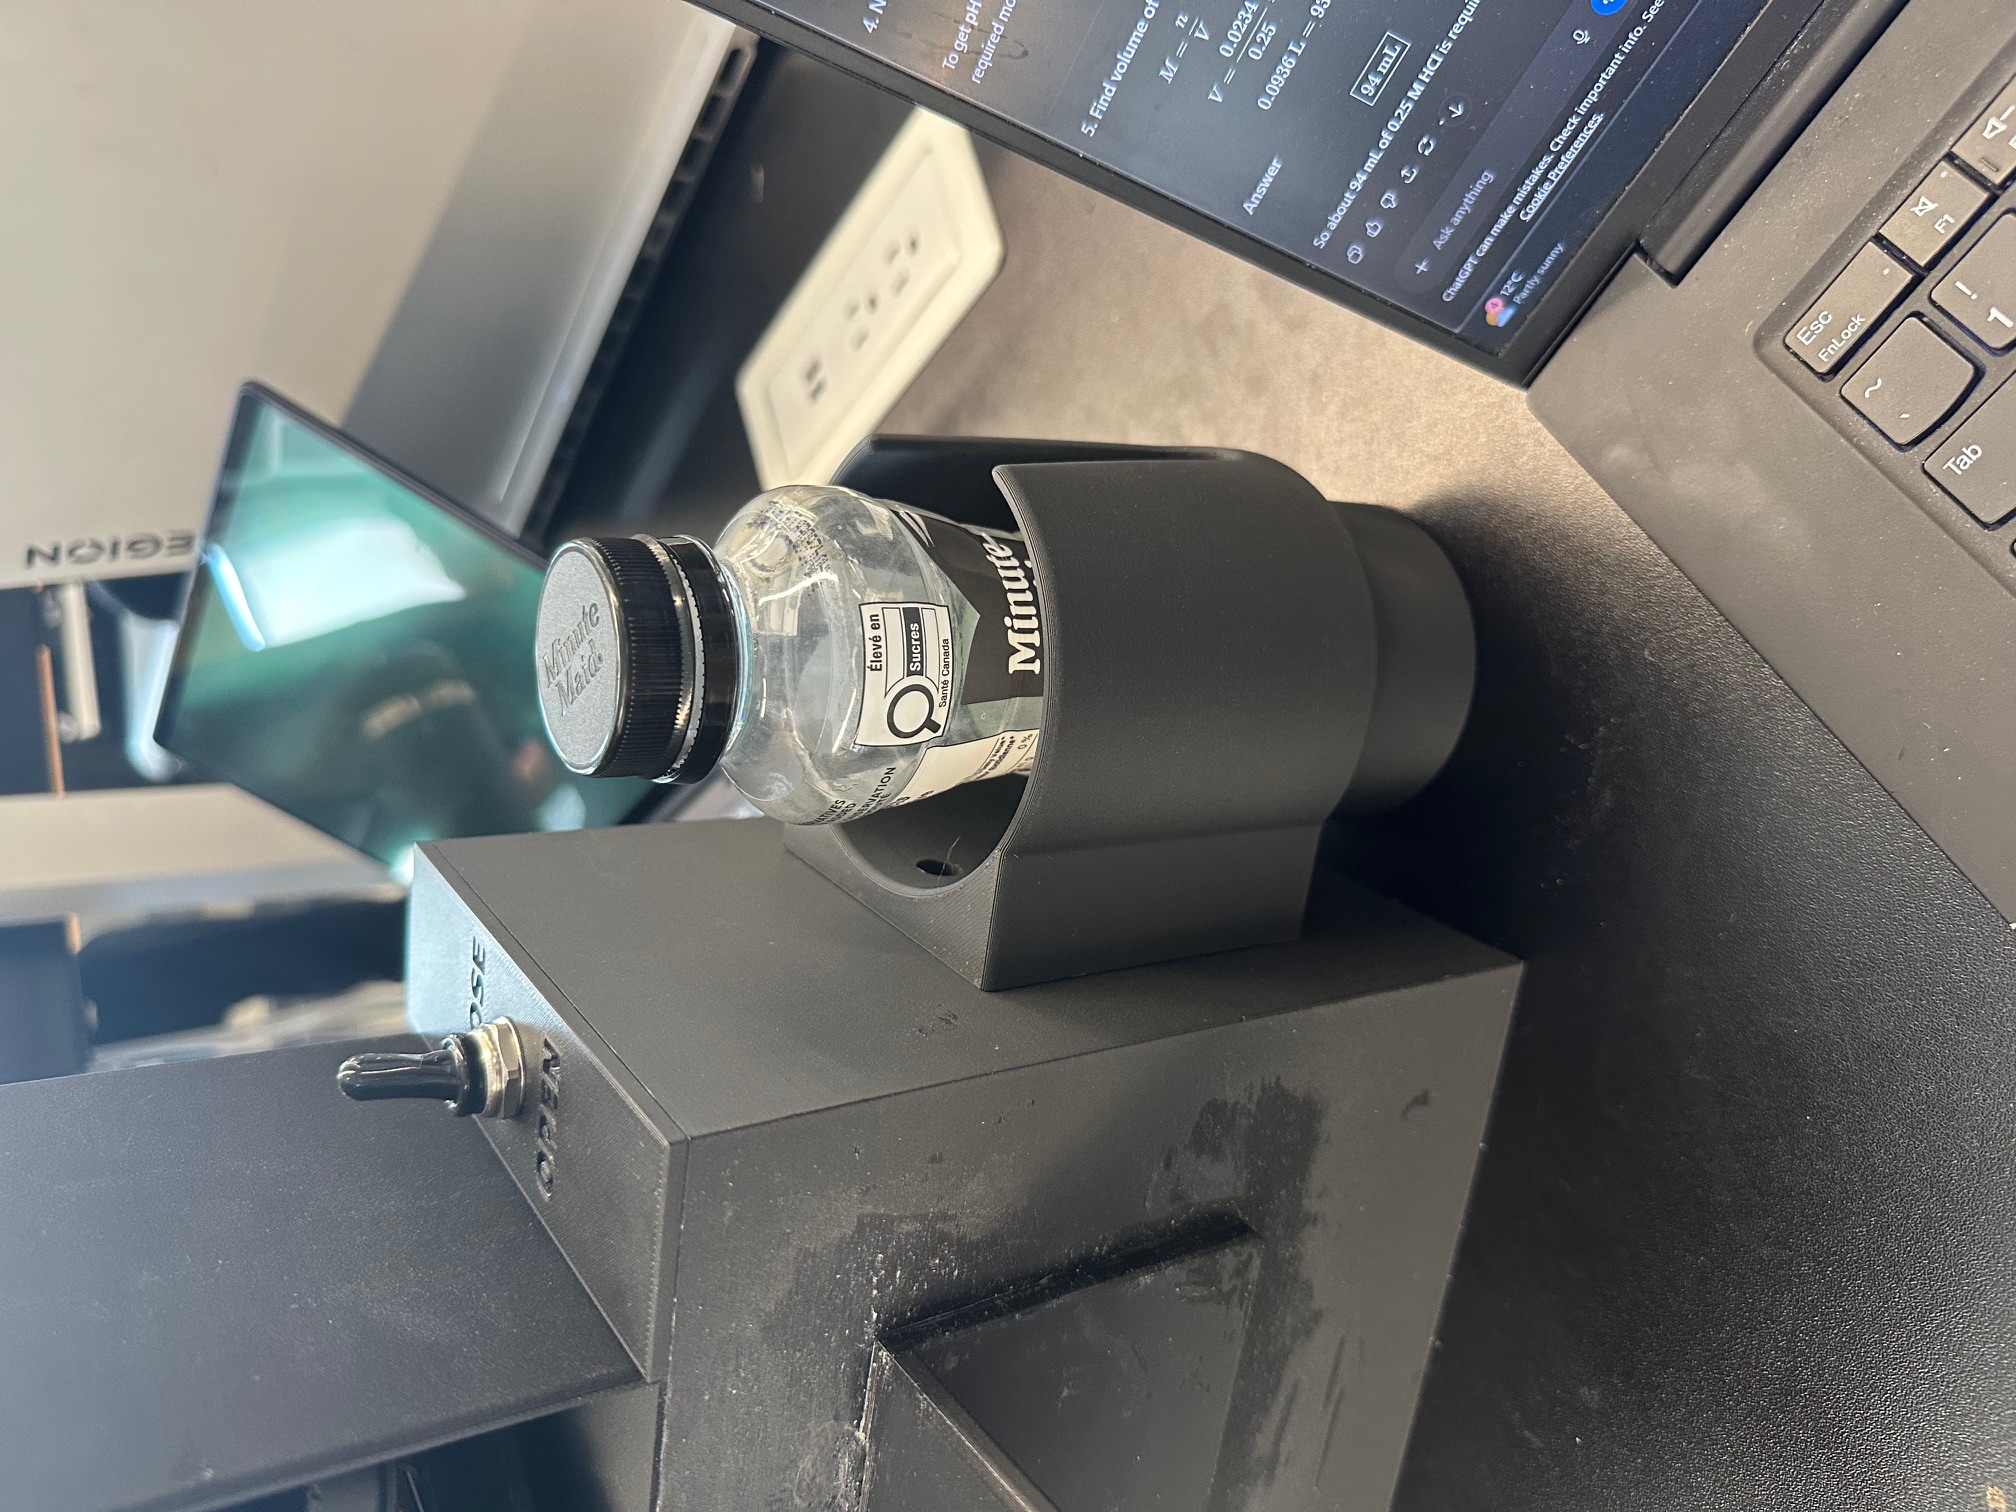
At the end, we also showcased the cupholder, which can fit cups, mugs, and bottles of different sizes.
The following drawings showcase the final design and fully dimensioned components of the Lift Locker.
Personal ReflectionWhat? · So What? · Now What?
The most useful thing I took out of this project came from a design I had to abandon.